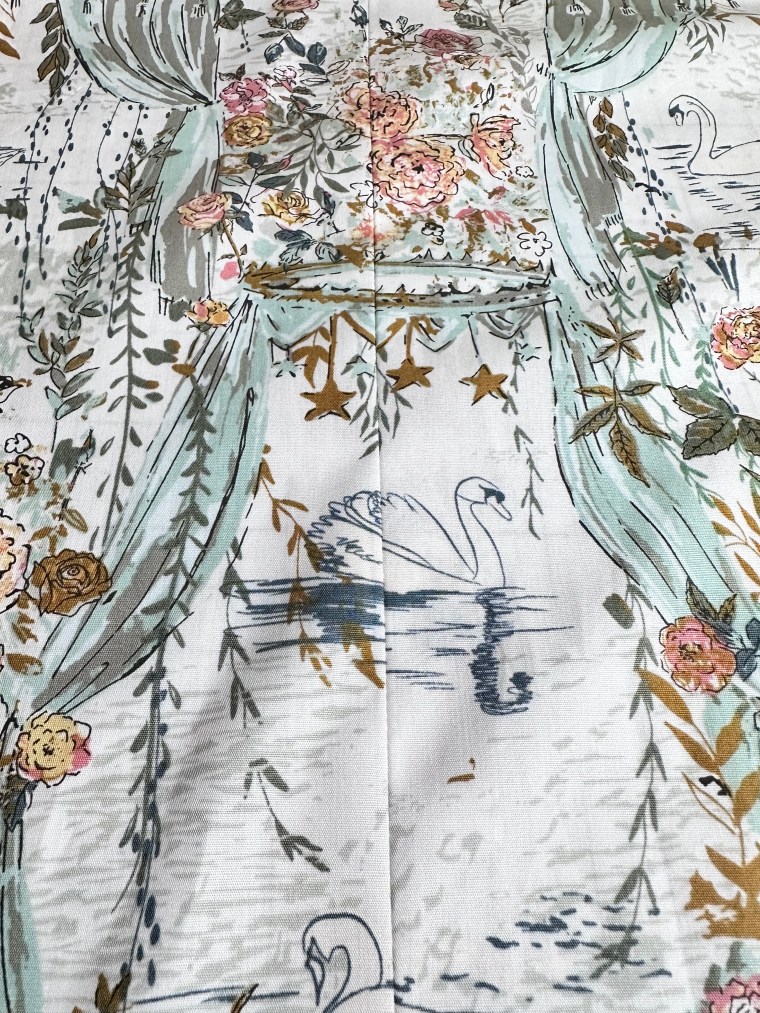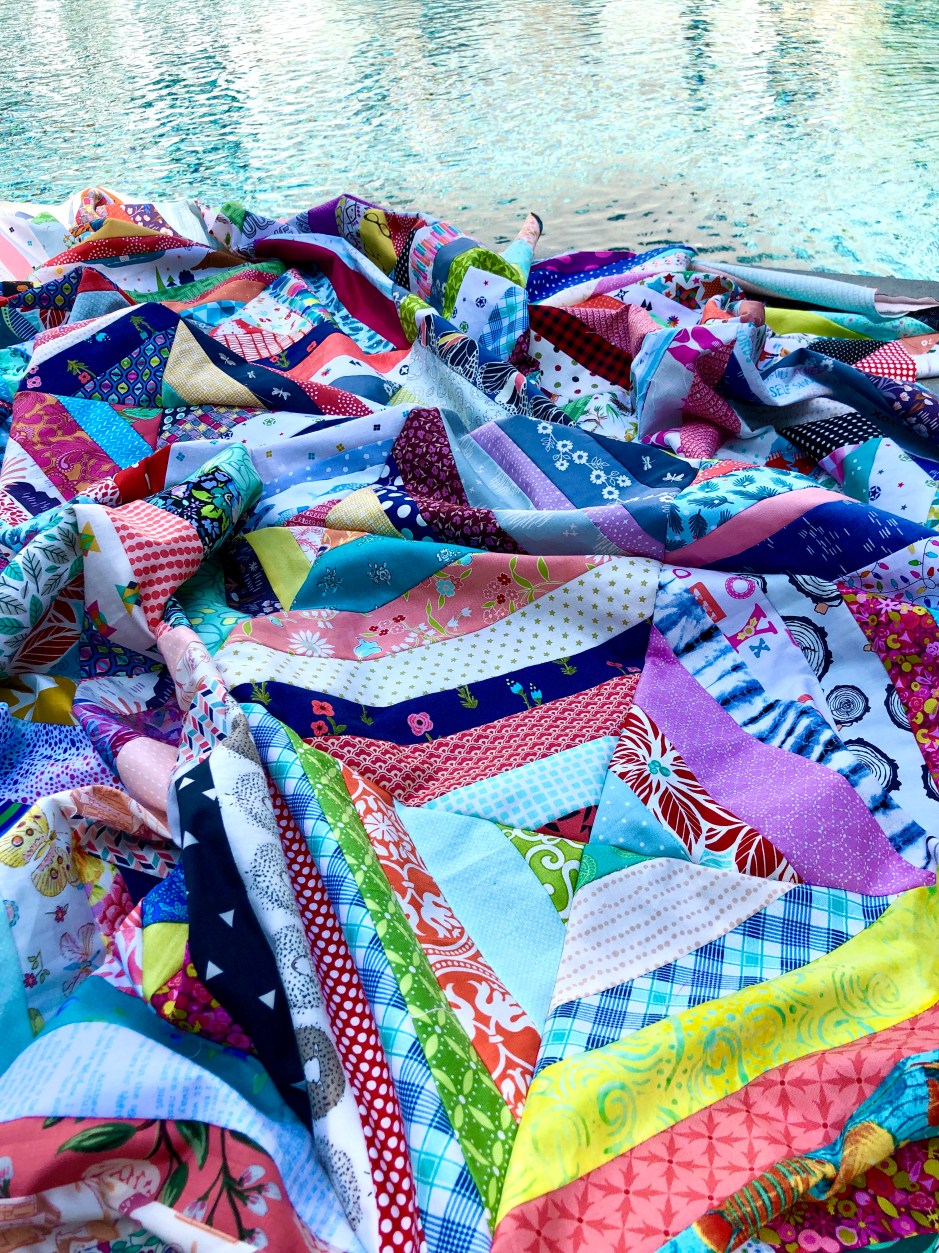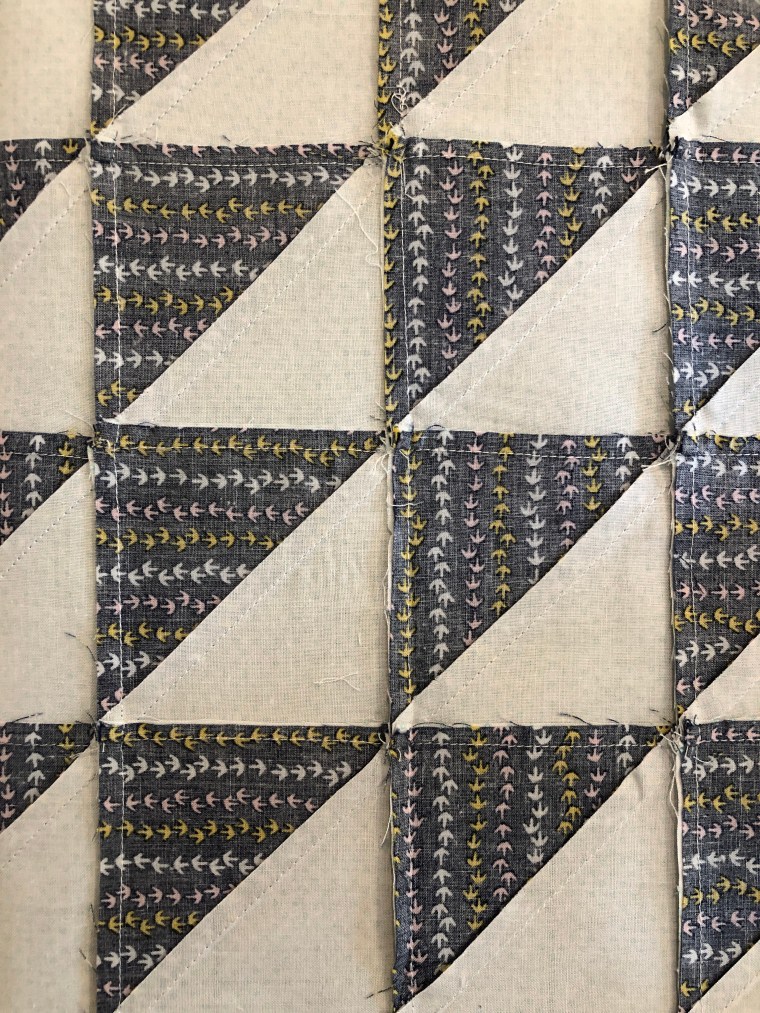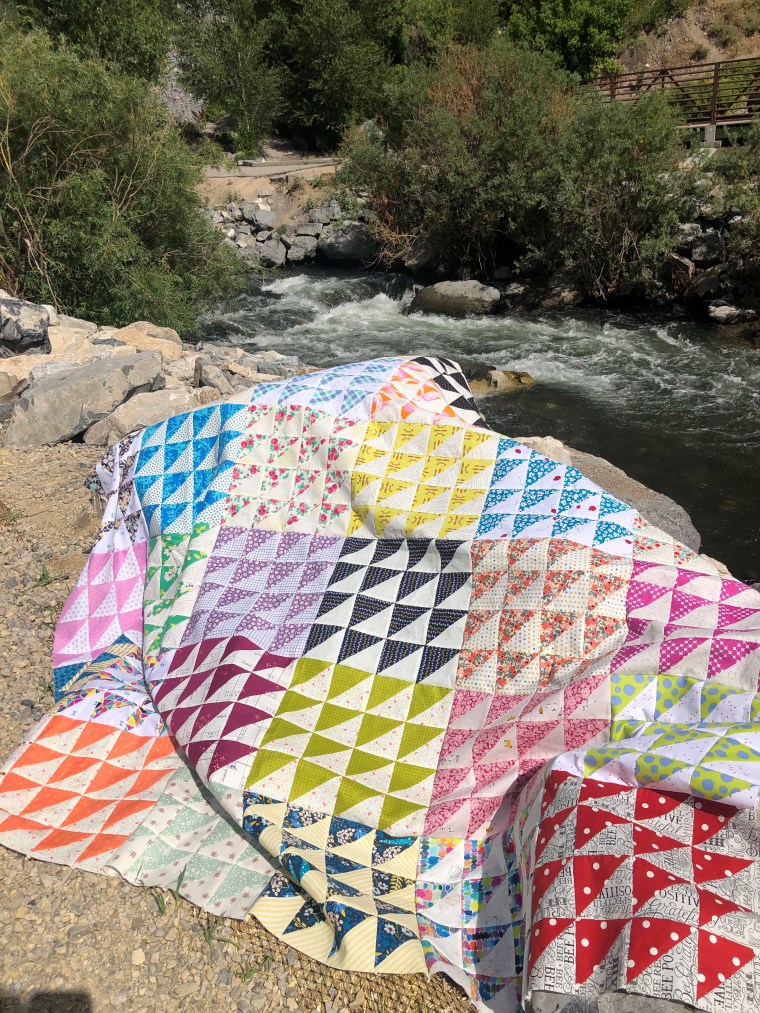


Let’s talk about a dramatic shift from loving low volume backgrounds to being enamored with blacks, navy and every shade of blue/gray to mimic a night sky. Add in the flowers of a garden and the creatures that visit under the cover of darkness and you’re here, the start of my first Night Garden Quilt.
How does your garden grow?
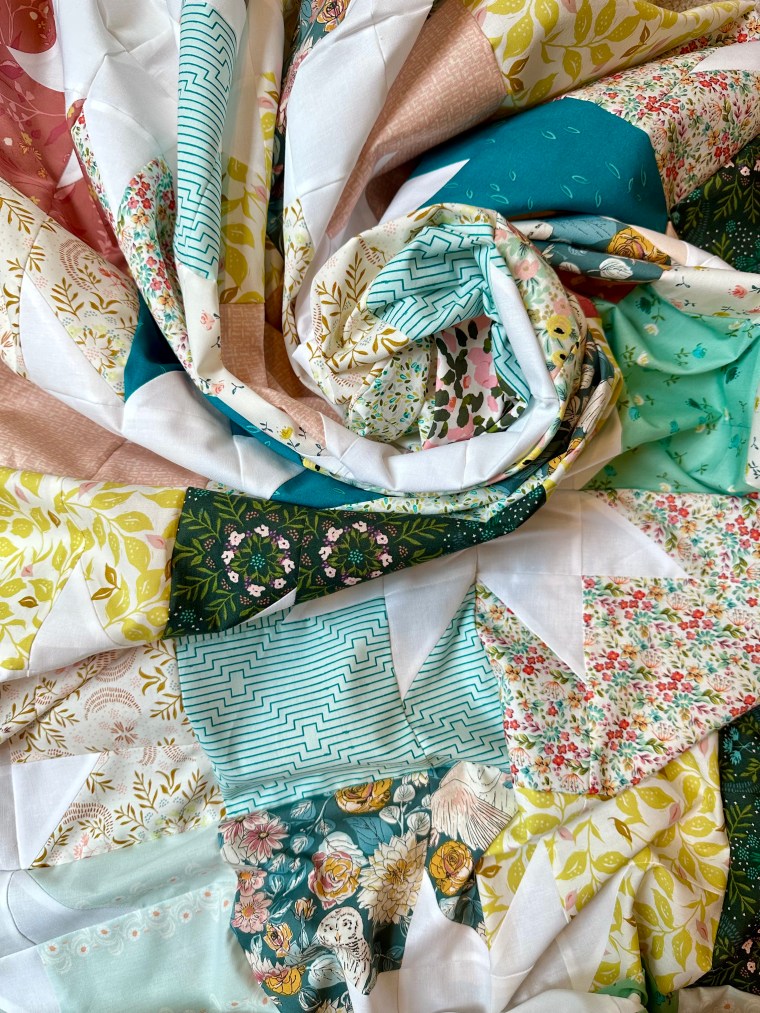
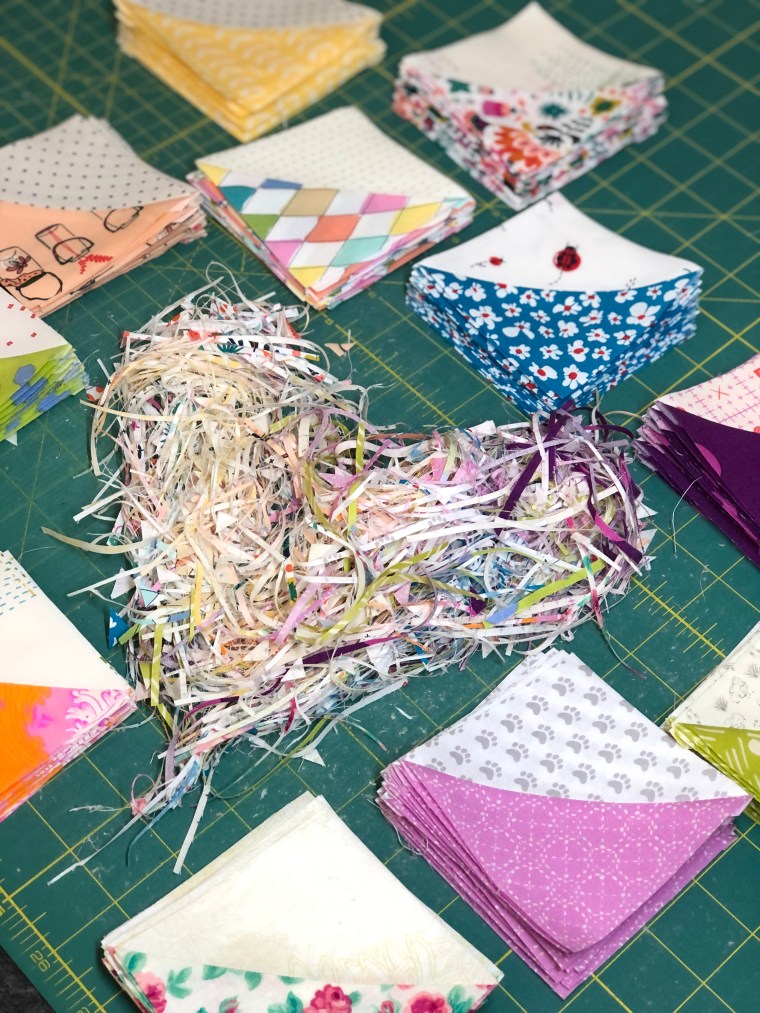
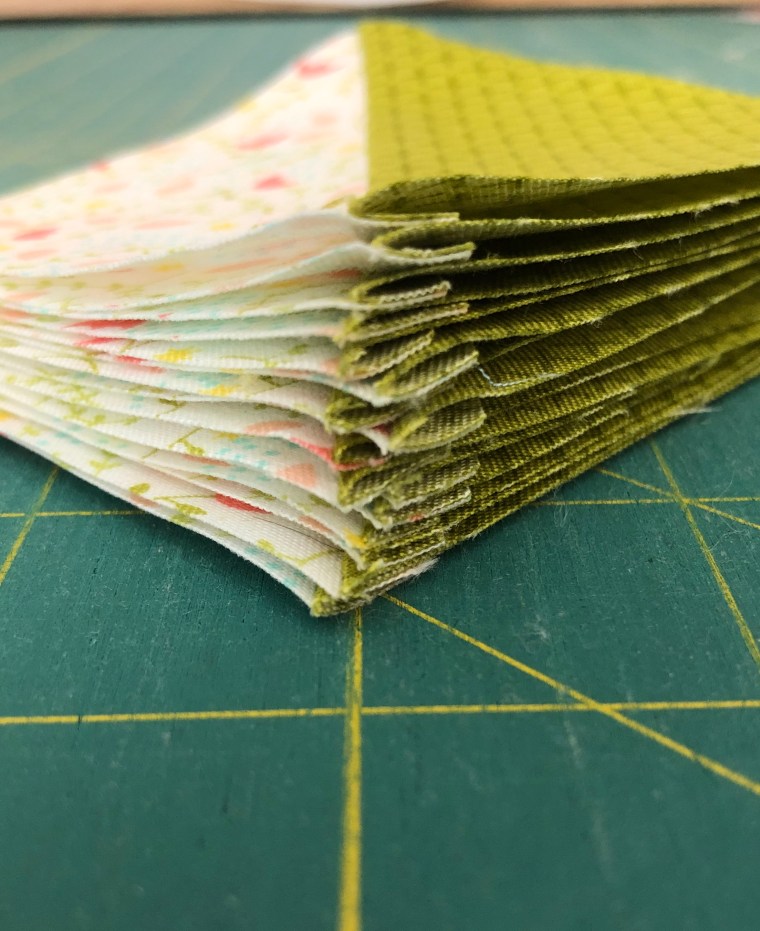
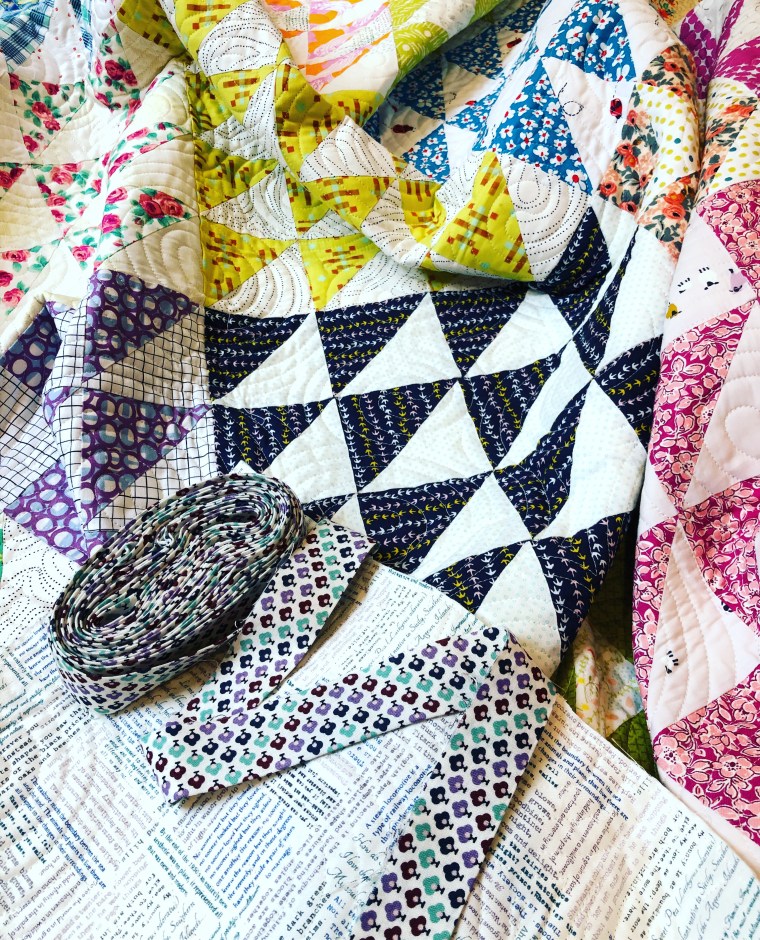
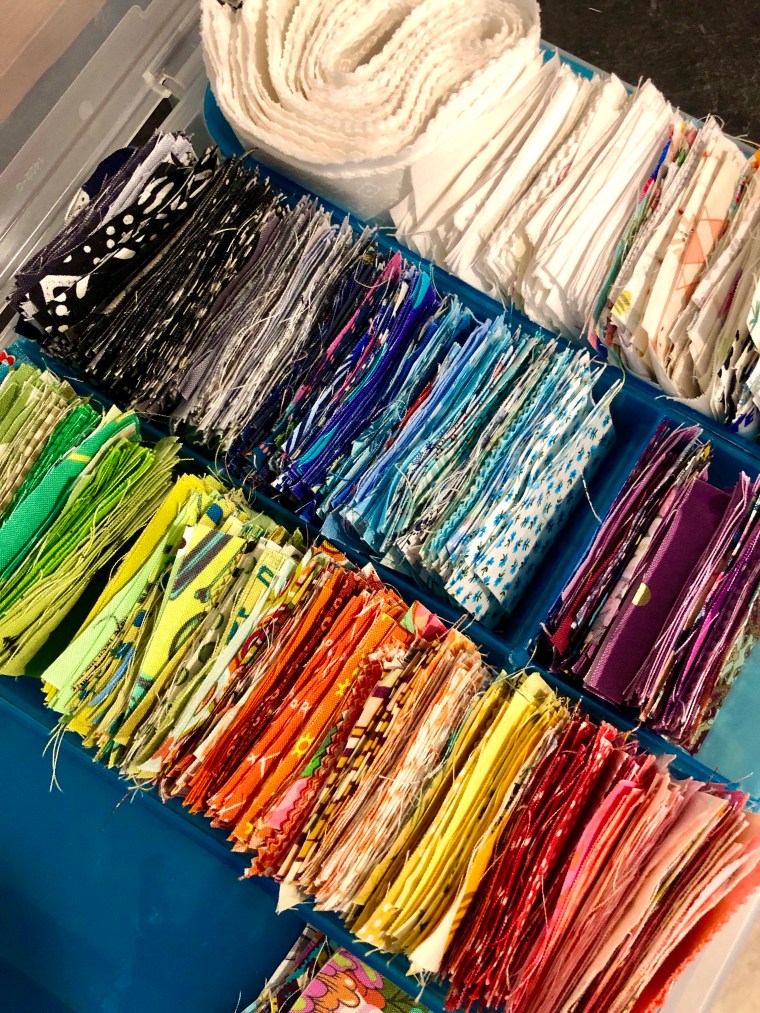
I was cruising through summer and prepping my holiday gift lists and even getting some projects started, when my IG friend, Elizabeth (@lizzymakes) started sharing pictures of a night garden quilt. It caught my eye immediately, mostly because the dark fabrics were so out of the norm for me, but I really liked what she was doing. I’d zoom in….see more details, finding myself even more intrigued as I studied her quilts. Then she shared the idea of a loosely structured / no deadline sew-along and I jumped right in. Yes, 100%. I went about pulling all the bright colors for flowers and all the darks for backgrounds. I was intent on not buying more fabric, but as you might imagine, that was a short-lived idea. I have a lot of scraps, but this was going to require more dark prints than I had available for the size finish I wanted.
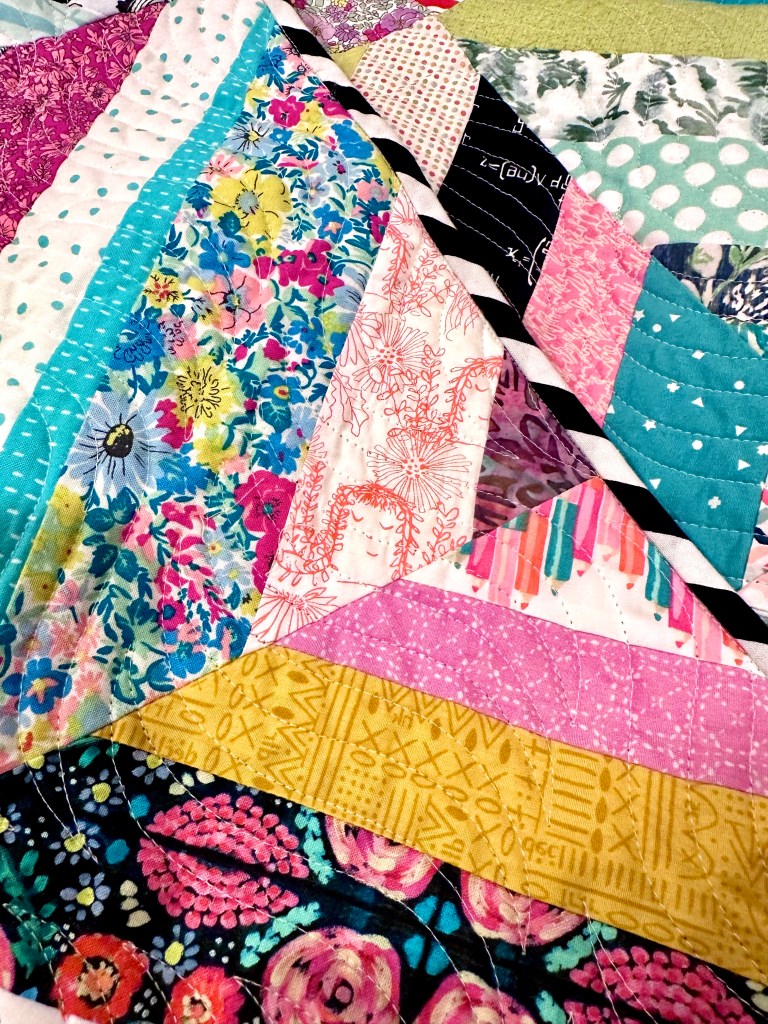
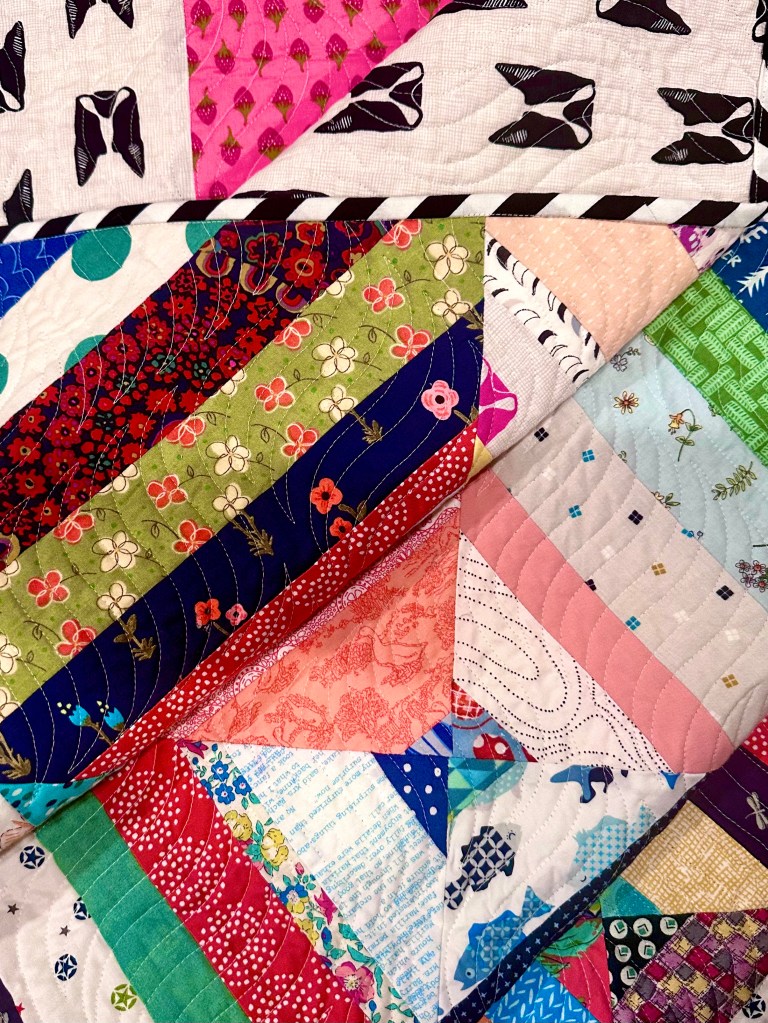
Flowers
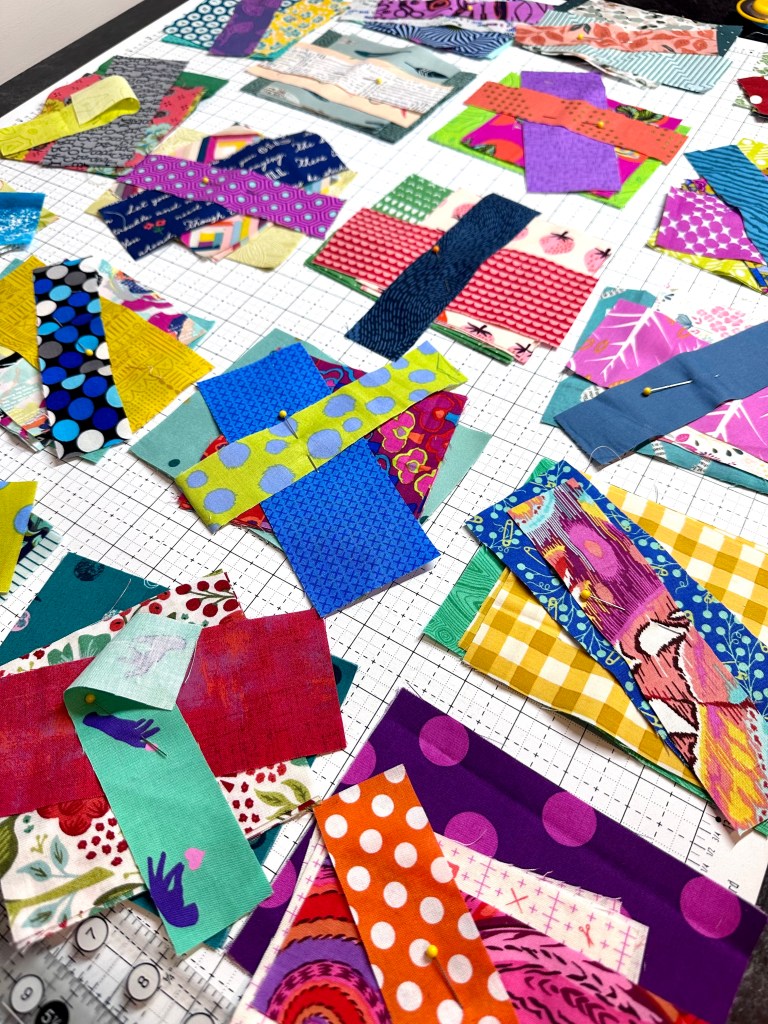
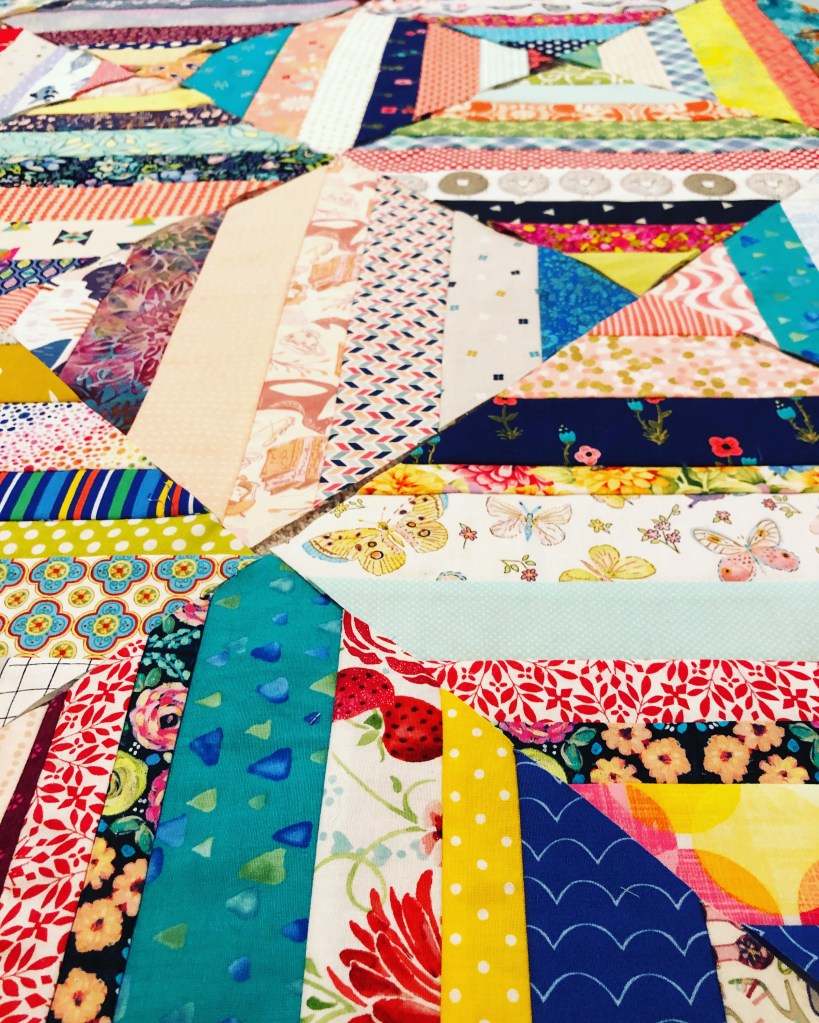
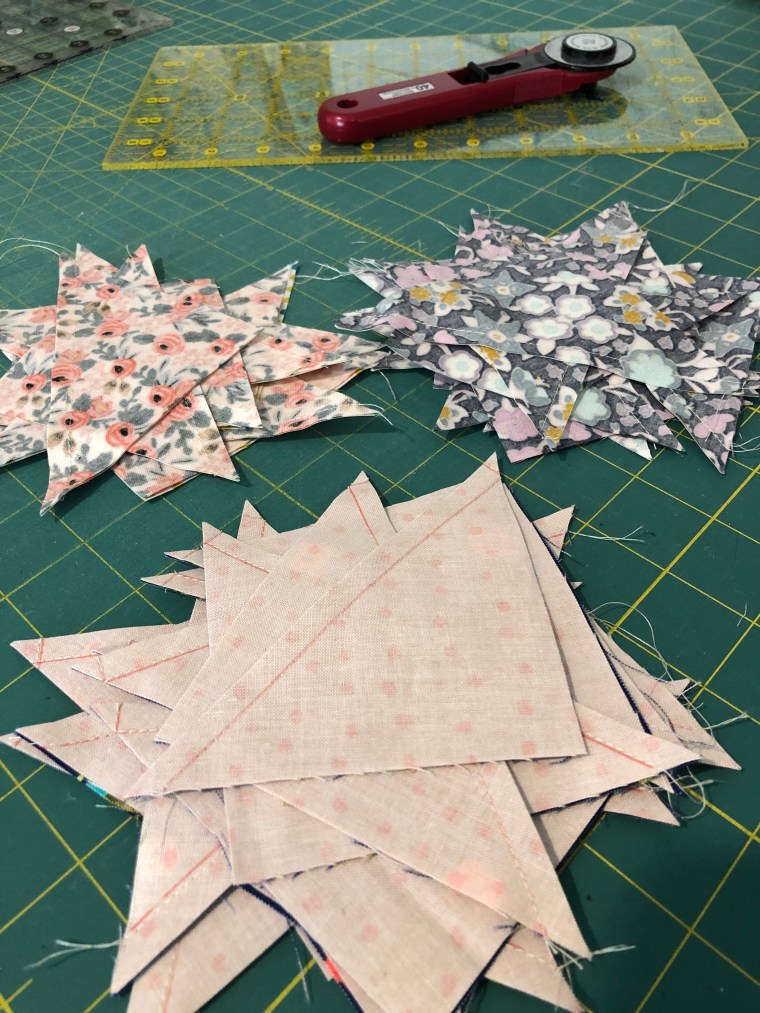
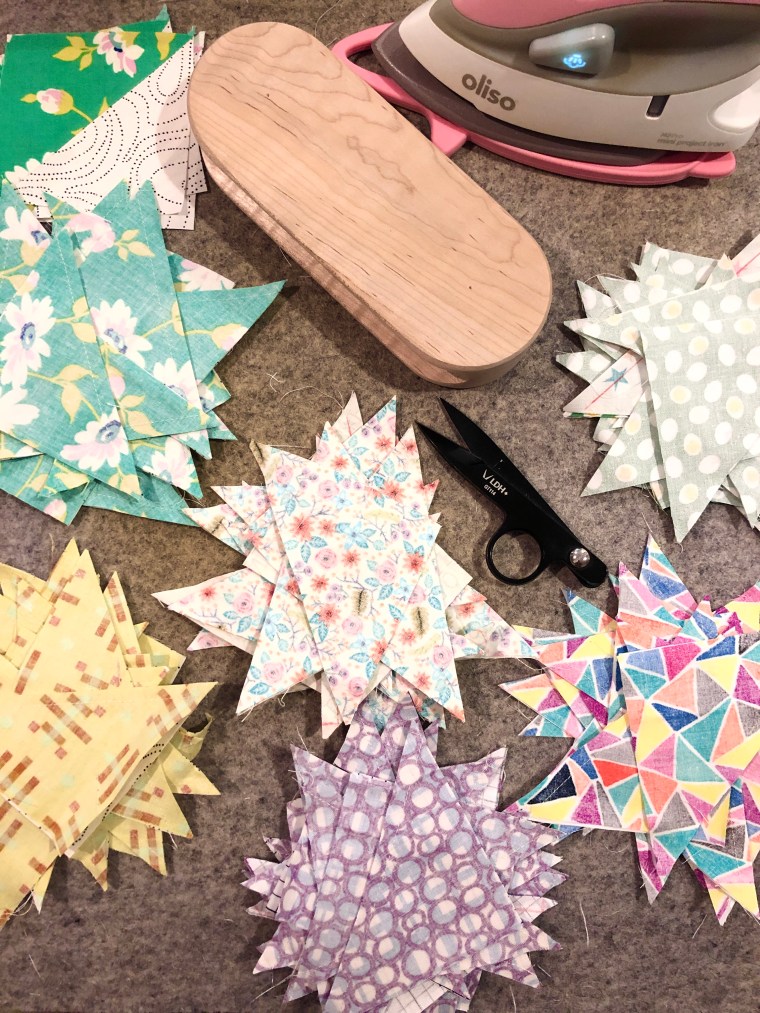
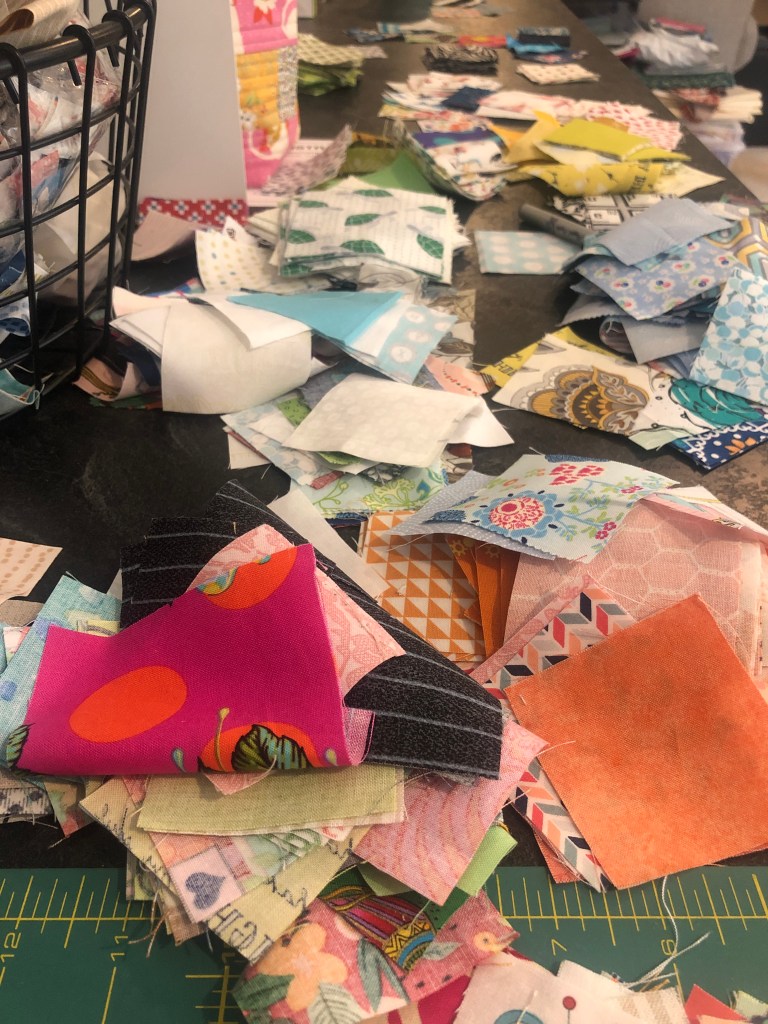
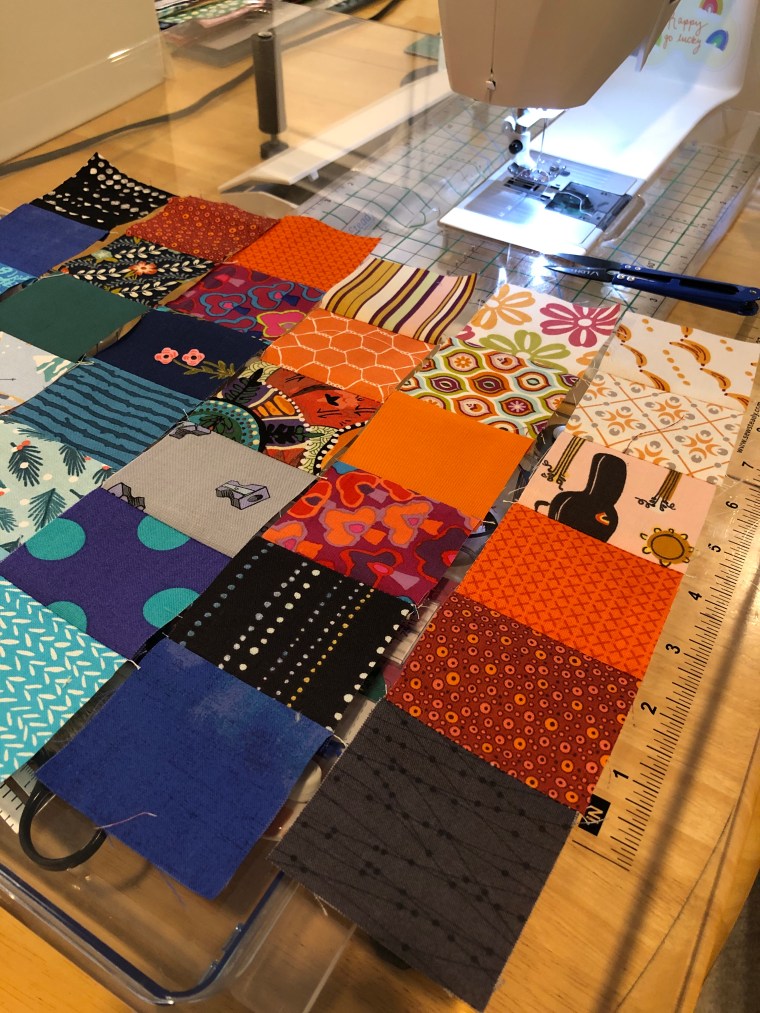
First up, flowers. I started with the zinnia blocks, a pattern by Lori Holt. I literally went straight to my scrap bins and pulled everything for the petals, and then built in the other elements of the flowers. I wasn’t really sure how many flowers I’d make or what the formation of the sky might entail or how closely I could replicate all the creatures I’ve seen walk through my yard. But it was ALL swirling in my thoughts. I started to remember other floral block patterns I had purchased and only used once. Could I add those? Yes. It was back to my digital files and scouring the archives to make use of the things I had purchased with other intentions. So much of it came into play for this quilt. Revisiting patterns is a good thing!
I could easily overthink the animals & whether they are night or day visitors, but in the end, I just wanted representation of what I like – stars, crescent moon, bright/lively flowers, flying friends and the all time favorite, the bear. Everything else would be a cherry on top.


Here’s another flower variety, this one a pattern by On Williams Street. More chances for tiny scraps to come to life!
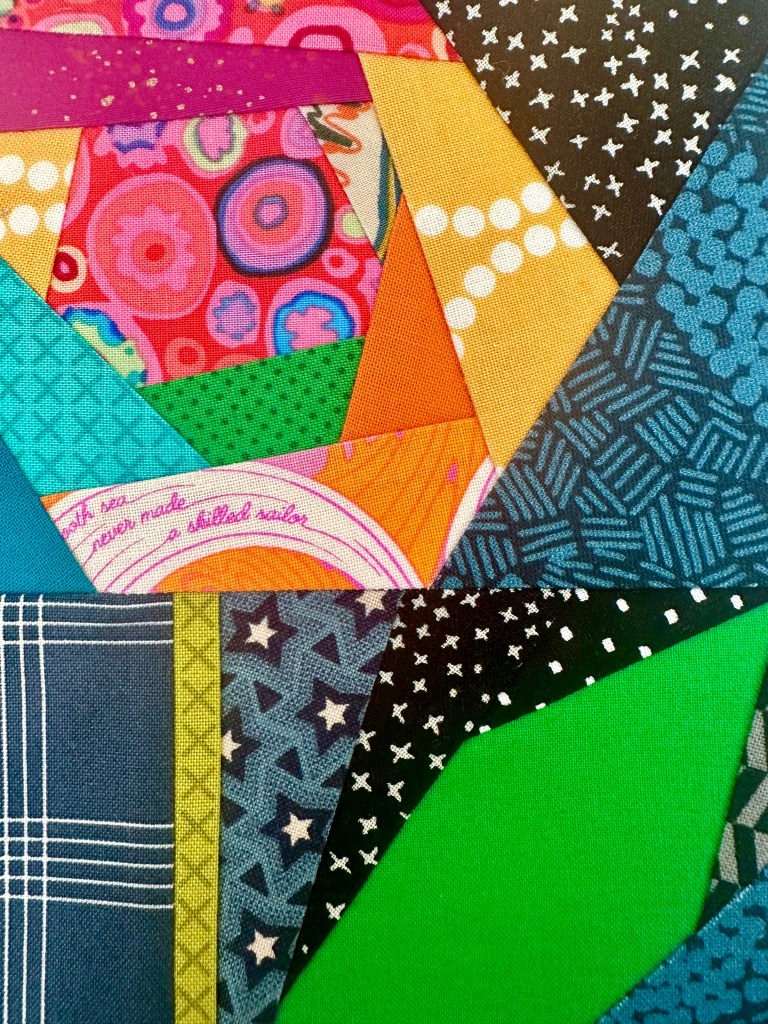
Details
It’s all in the details. While the scrappy-ness of the bigger blocks is typical of my wild-color, improv loving heart, I also like to sneak in little details. At first glance you may not see them. If you’re sitting snuggled under the quilt with time to spare, you might notice. If you know me well, you know why it’s there. That kind of stuff. I like it in my work. The storytelling through images makes me happy.

This little segment has old & new fabric, pieces from pattern testing and even fabric my husband brought home from a business trip in the UK. Nobody else would know, but I do and I like how it all continues to find a way into my quilting.

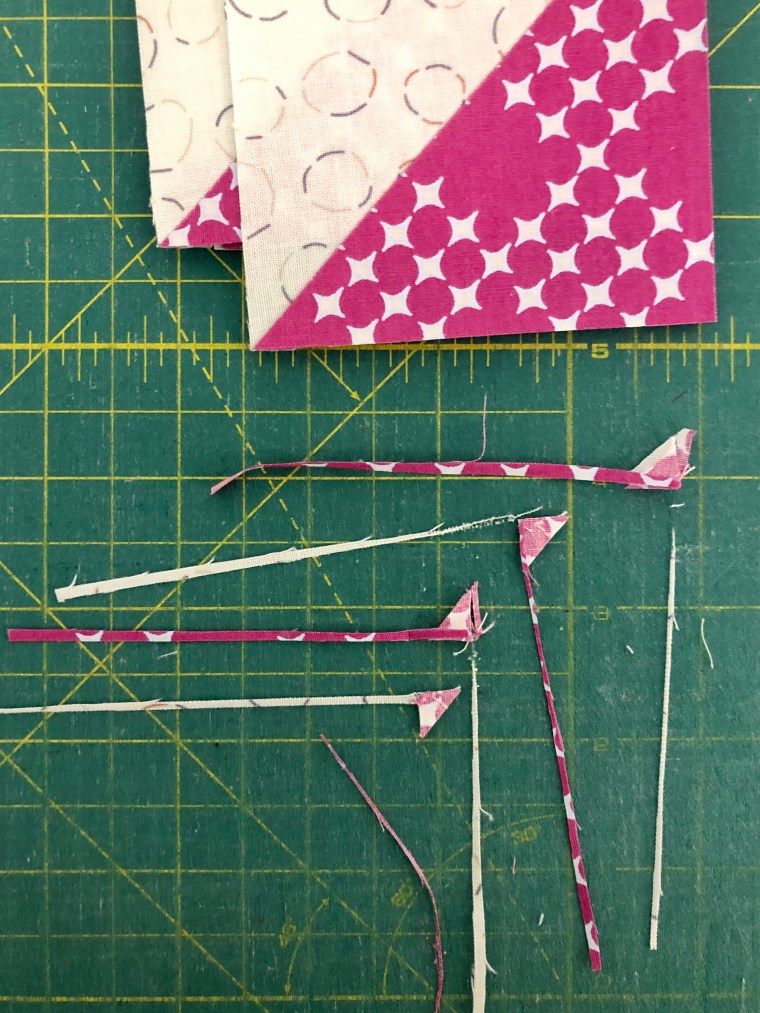
Foundation Paper Piecing

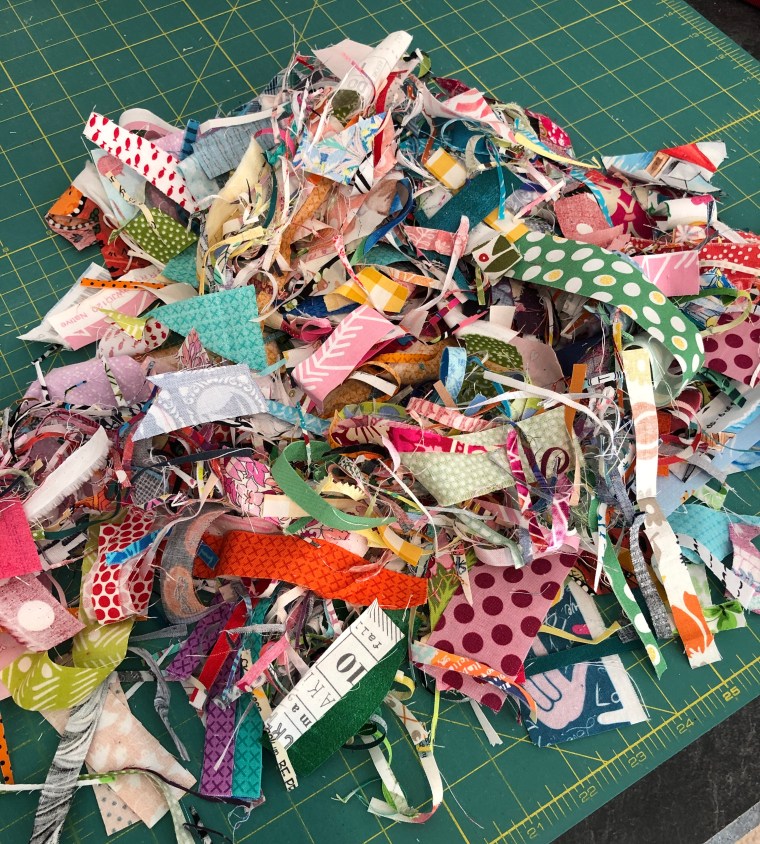
Foundation Paper Piecing. For me, it’s the love / hate piecing method. I love the accuracy and precision. I loathe the removal of the foundation. I love the tiny bits; it means every scrap has potential. But those papers, there has to be a better, less messy way. It’s a test of patience for me, for sure. However, as much as I take deep breaths and sigh about the mess, I go back for more. Ha!

In all seriousness, I could NOT make this hummingbird without foundation paper piecing. So, tiny pieces of foundation to tear away, it’s ok. I’ll keep doing it to have results like this.
For the past few summers, I’ve planted gardens that are welcoming to butterflies and hummingbirds. They are frequent visitors to our home every single day, so they had to be included in this quilt. As the weather chills and some of the flowers die off, my flying friends aren’t as frequent to the patio. I look forward to seeing them next summer.
There’s a tiny note in this block too. I’m sure you see it; wink. 🙂


Be still my heart; owl….I think you are stunning. This is a pattern by Griffin and the Bear, which made my piecing work so easy. I hear the hooting from the woods…this one needed to be included too. There is such a thrill and a gift to living in a forest.
Speaking of forests….wouldn’t you gnome it? There has to be a gnome.

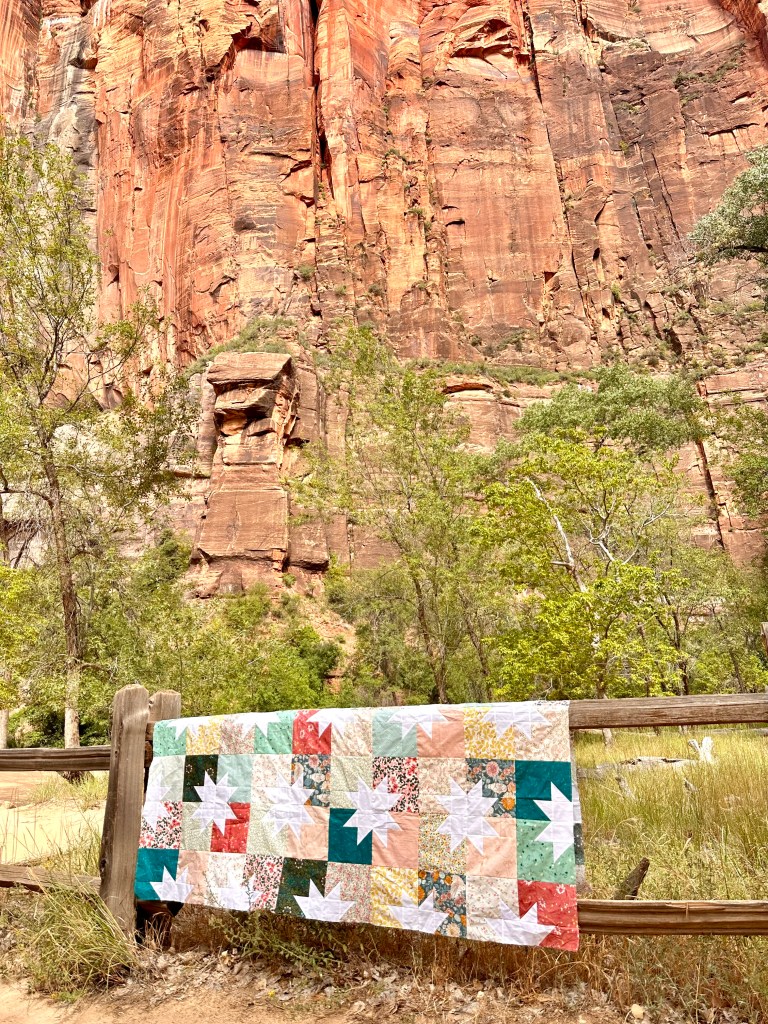
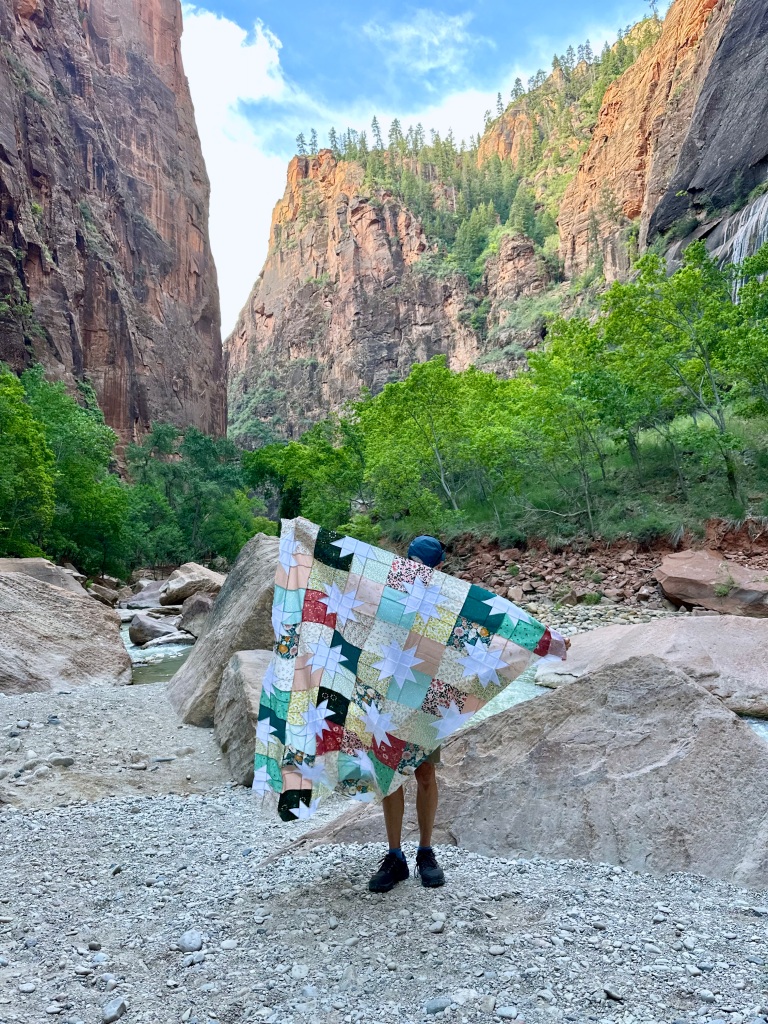
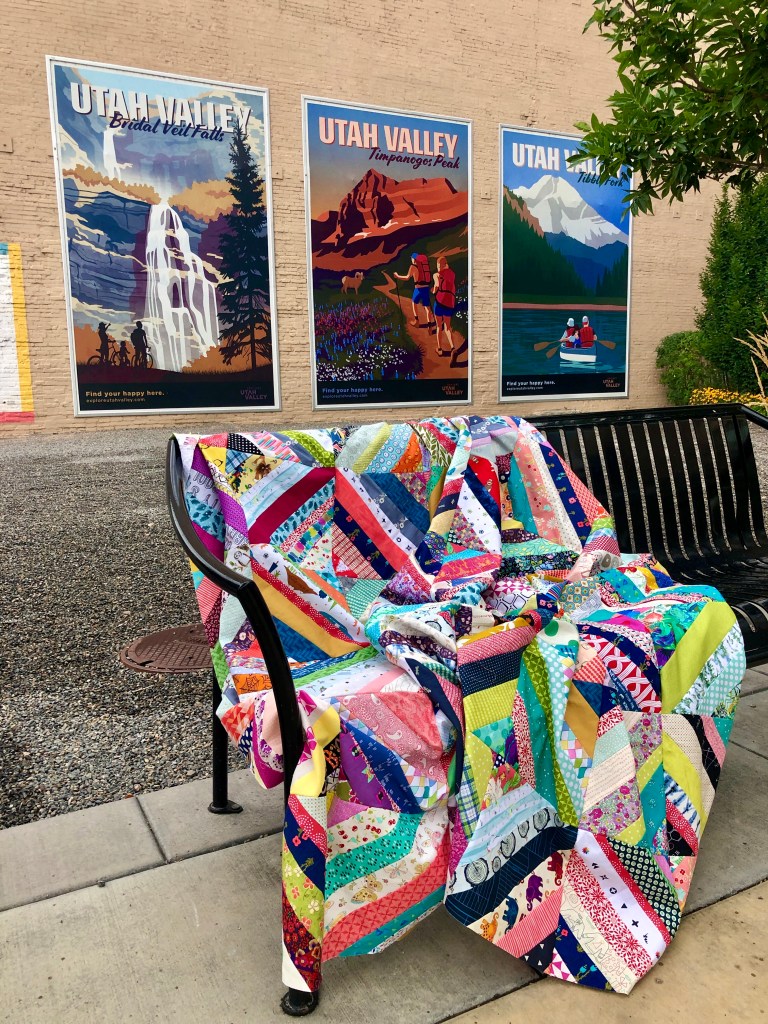
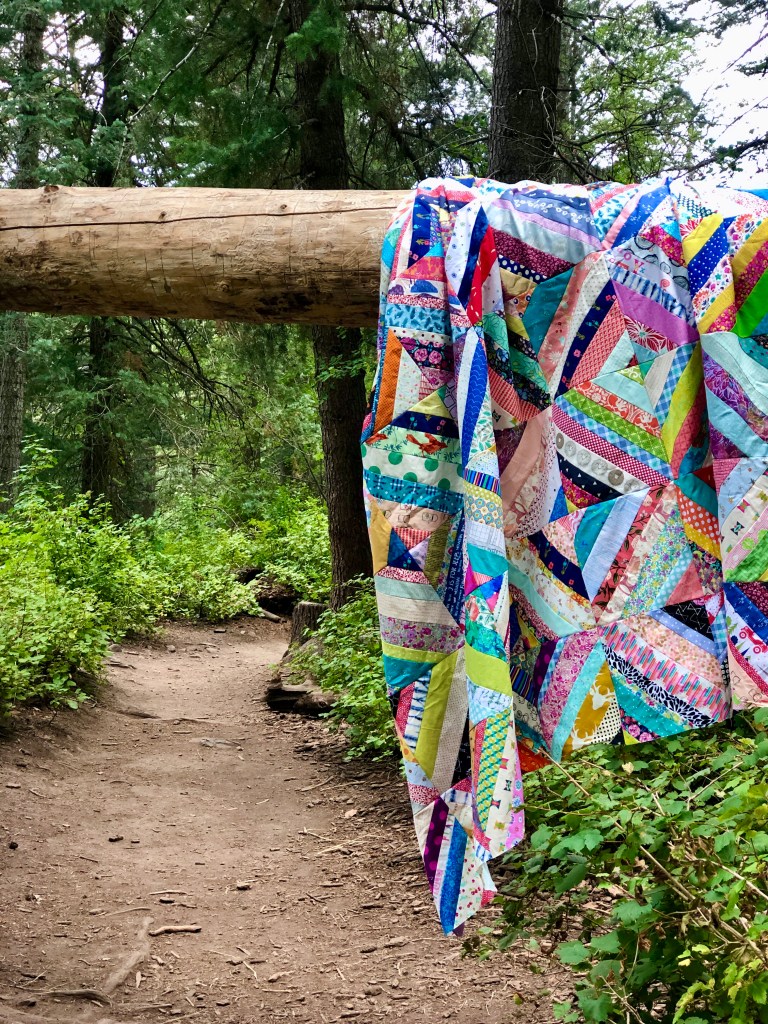
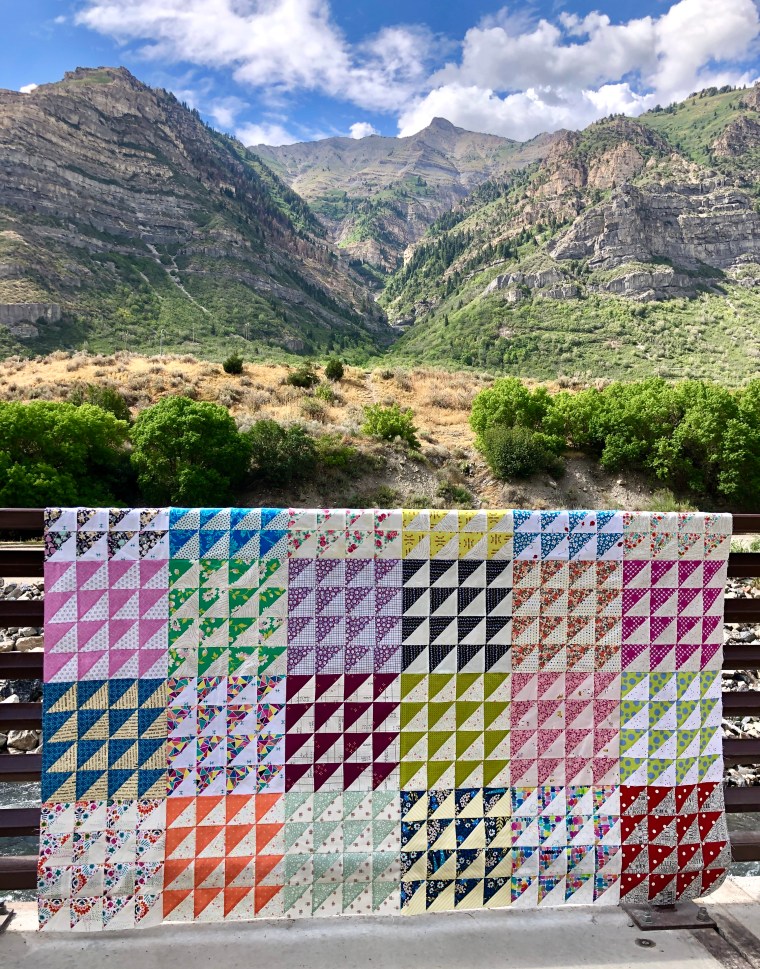
It’s a wrap
I worked on this daily and from start to finish; add in long distance quilting and photos. It took less than 8 weeks?! I think that’s right. To say I was slightly obsessed would be accurate. I *may” have left my fabric out and purchased more backing for another one. Once I got in a rhythm with these blocks, it just flew by.

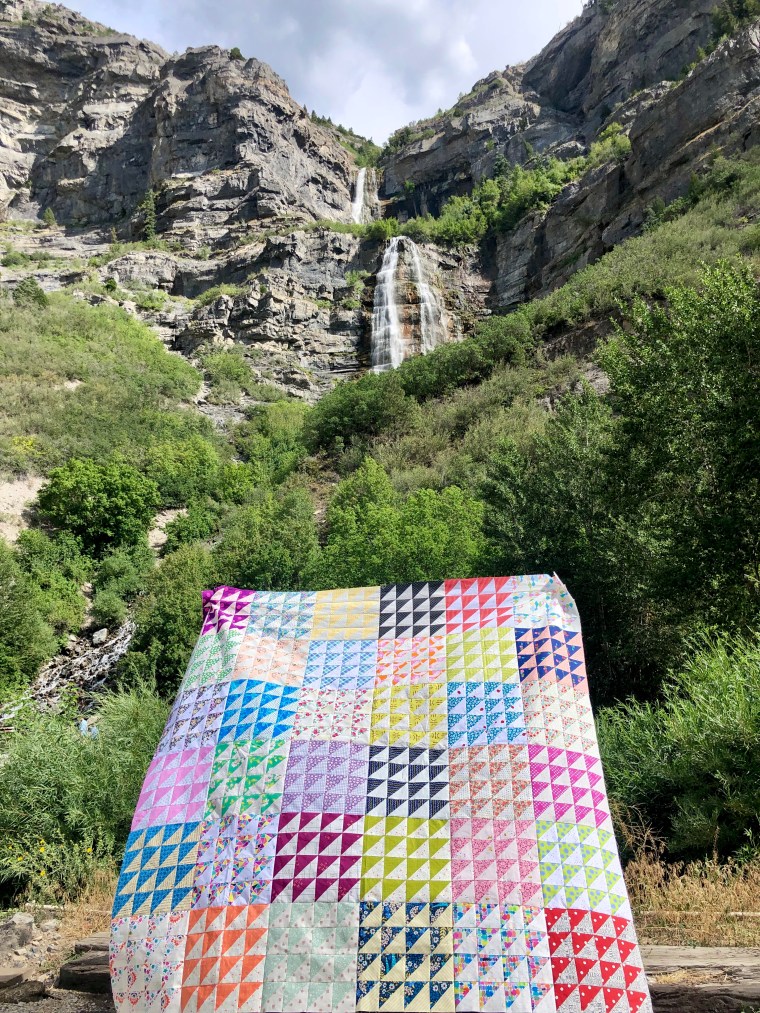
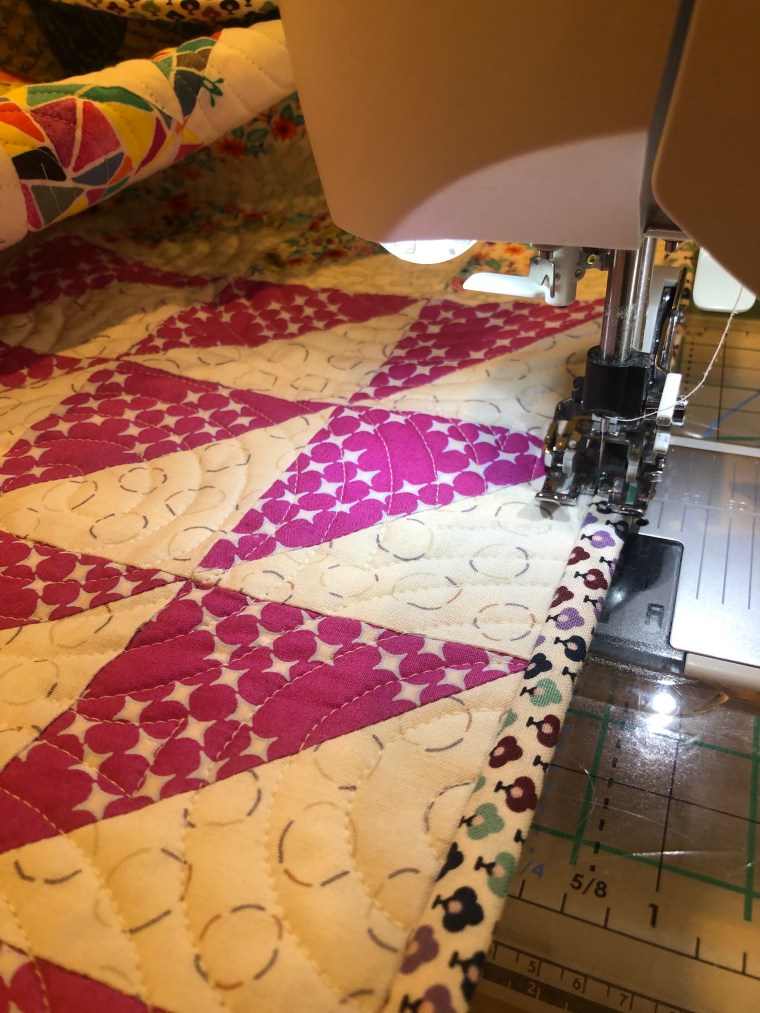
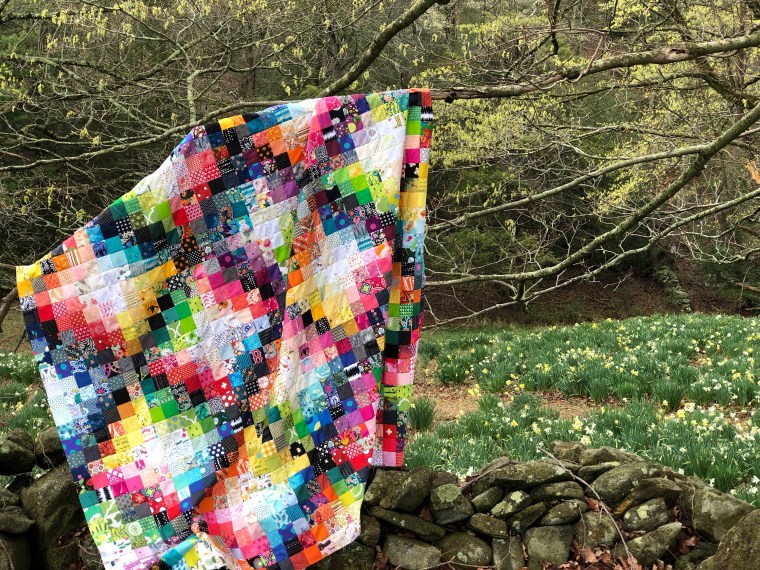
This was professionally quilted by Kaitlyn, http://www.knotandthreaddesign.com. It’s fantastic. She’s finished several of my quilts and I’m always pleased with the results. I finally had a chance to meet her this summer; so thankful for my quilt community. I bound it with the same fabric I used for the backing.


That’s a wrap. I’m a convert. Give me all the dark backgrounds now! Thanks to Elizabeth for the sew-along, Kaitlyn for the quilting, and Cass for indulging me in awesome fabric from Nova Quilts. There were moments along the way I wasn’t sure how my intentions were going to be puzzled together, but it worked. It’s another “I love it” finish for me! Night Garden 2 – I’m coming for you.
-Happy Quilting…enjoy!
All photos and content property of Two Terriers Studio and not to be copied or distributed without written consent of the owner. This is not a sponsored post.